


VPS fails to boot, what to do?
You have a number of options:
- Option 1: Boot your VPS in rescue mode, if your OS allows this
- Option 2: Boot your VPS from a Live DVD, then mount your VPS filesystem to perform recovery or save valuable data
- Option 3: Create and download a full snapshot of the VM to your local PC, then use any virtualization environment to extract files
We will focus on Option 2 in this example and will boot our VPS from Ubuntu 18.04 ISO to get access to our disk partitions. This will work regardless of what OS you are using (CentOS, Fedora, Ubuntu, Debian etc.) as Ubuntu 18 can work with all these OS filesystems.
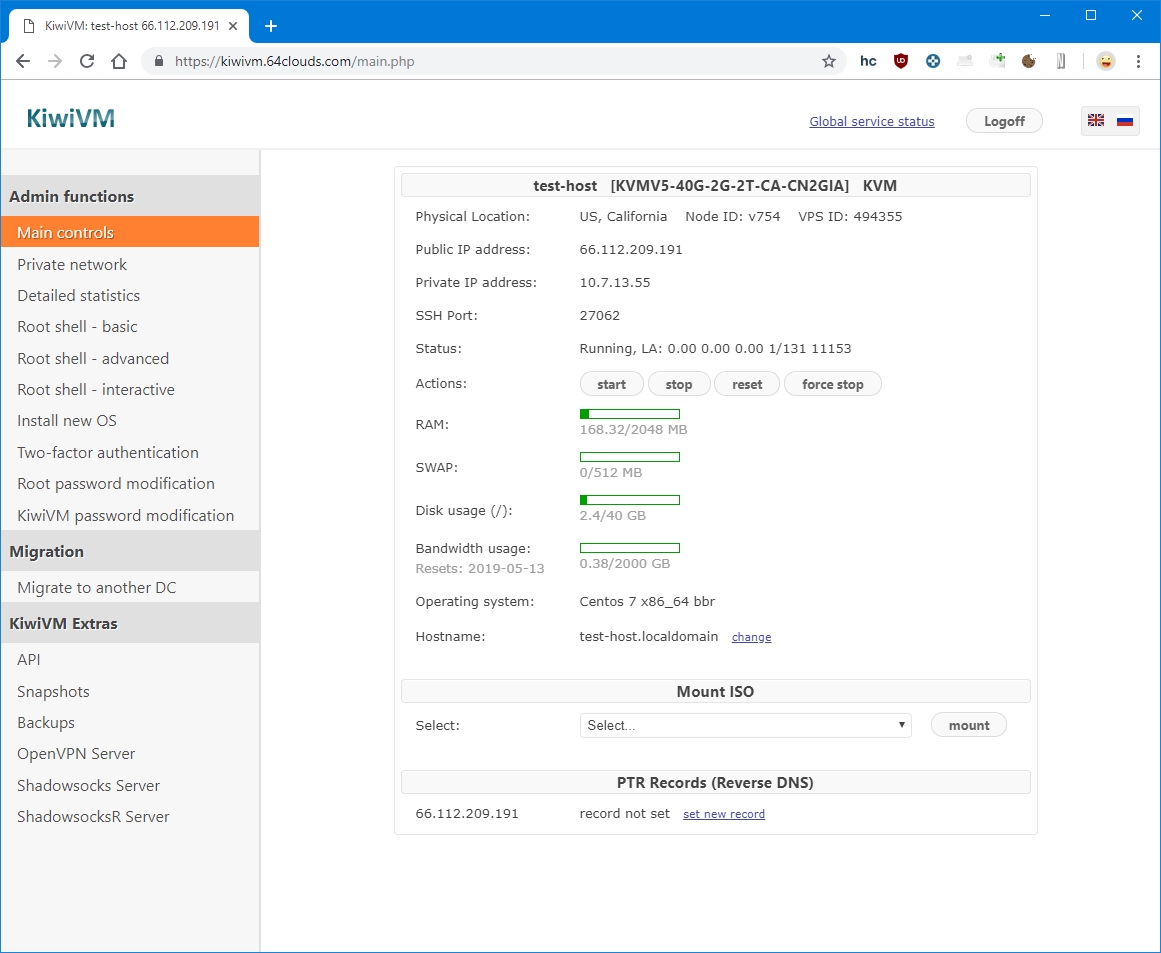
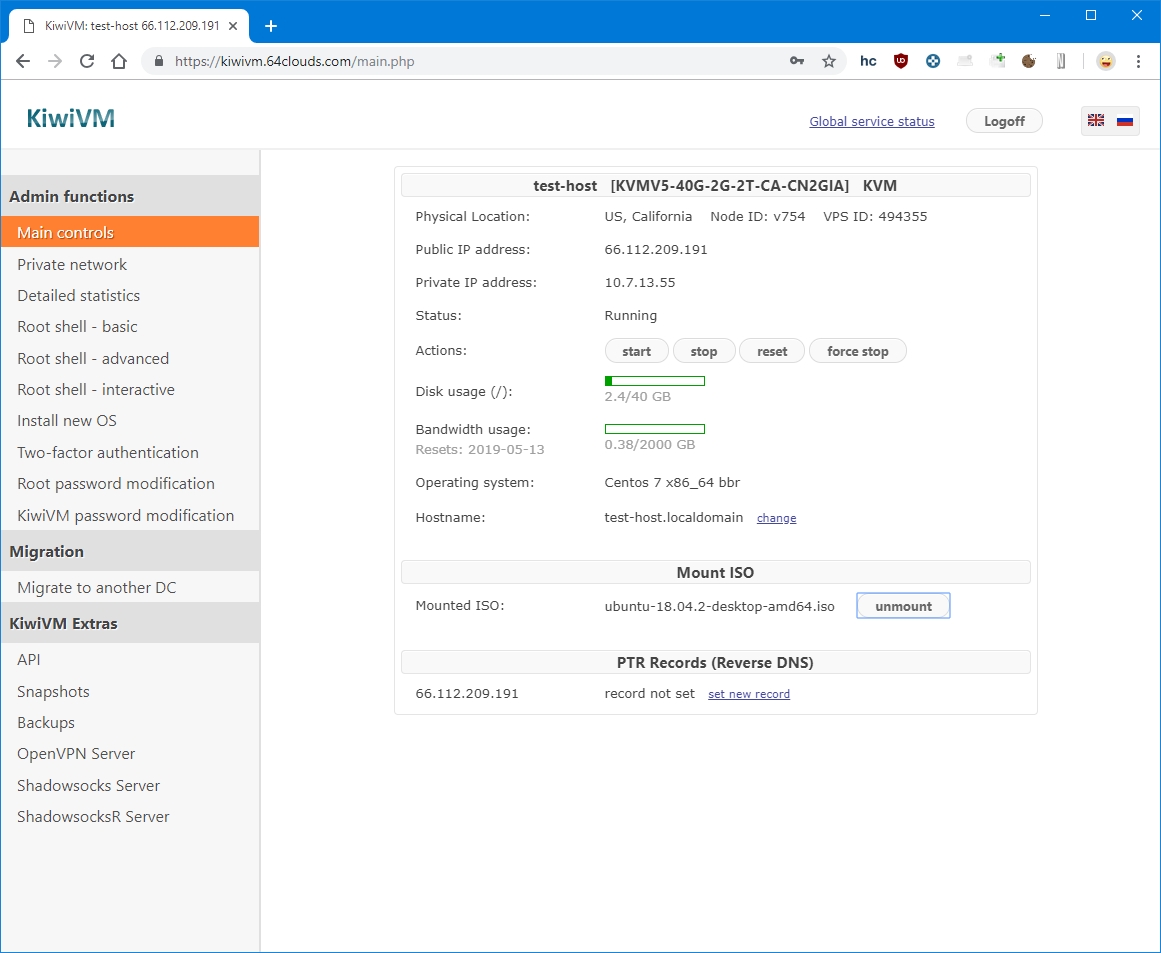
Step 1. Login to KiwiVM
You should see the following screen:
Step 2. Select ubuntu-18.04 desktop ISO
Server version of Ubuntu 18.04 does not offer Live mode, so we choose Desktop ISO:
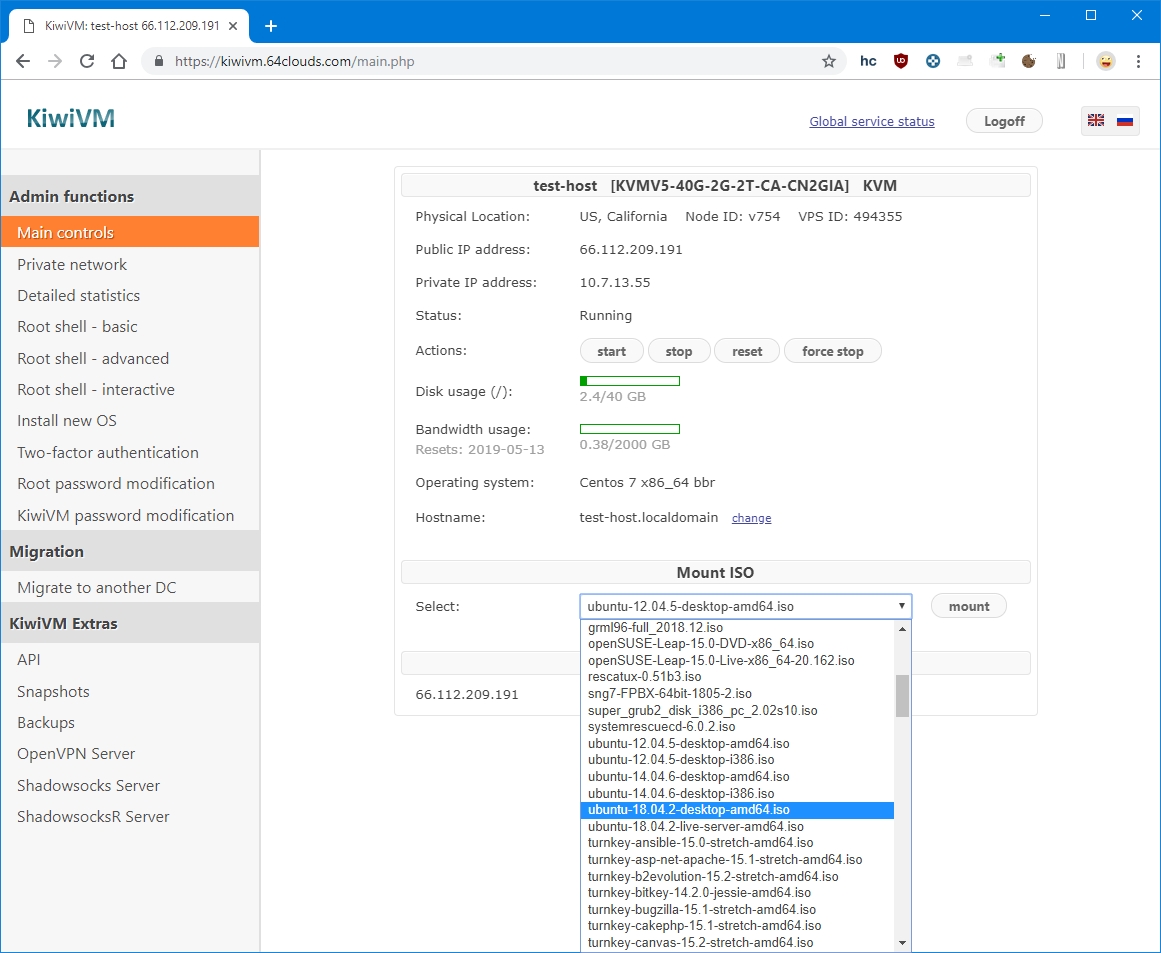
Then click ‘mount’ button:
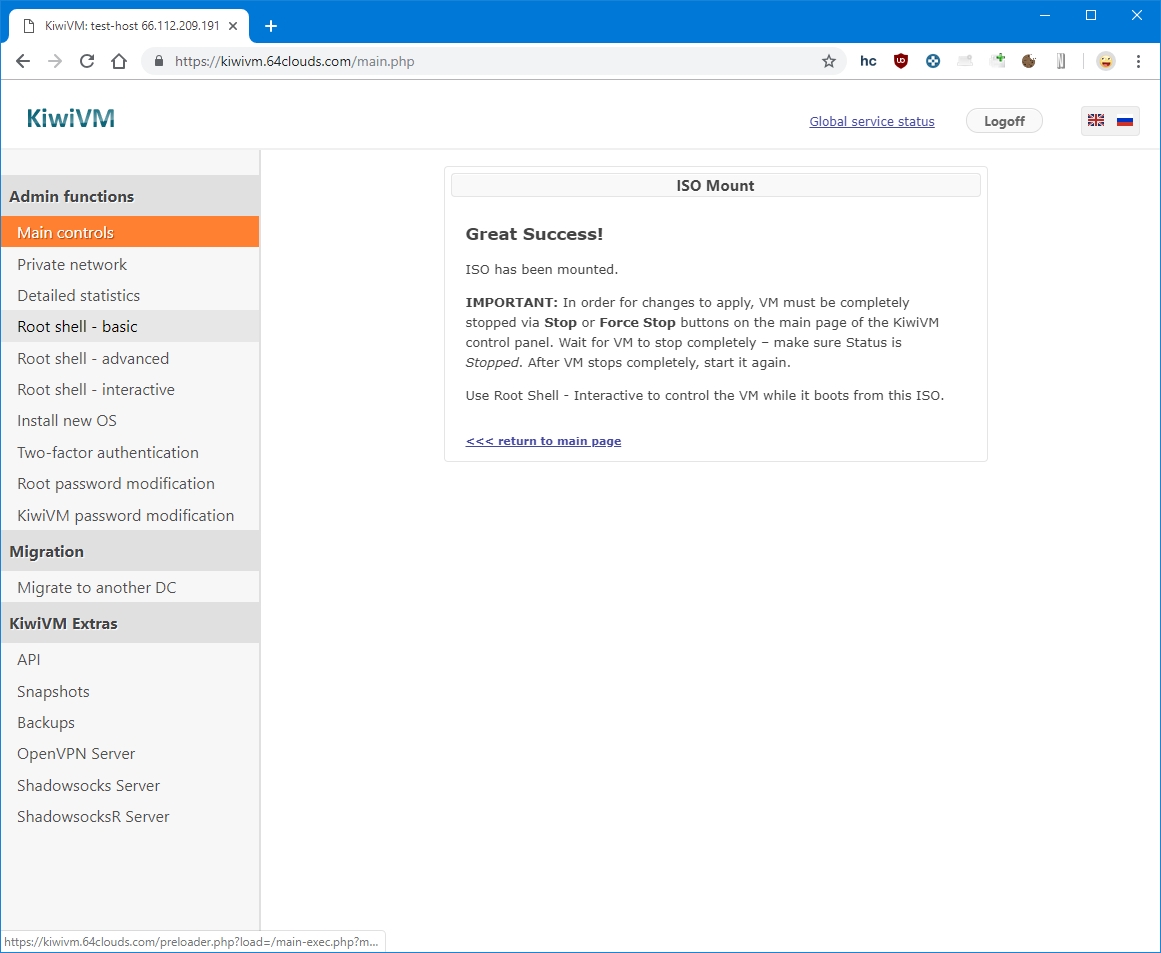
Step 3. Boot VPS from ISO
At this point we need to completely stop the VPS and start it again in order for it to successfully boot form ISO image.
First, click ‘force stop’:

We see confirmation screen:

Back on main page, confirm the status is Stopped:

Now, click ‘start’

At this moment a new window will open (Interactive shell) and after about a minute the following screen will display:
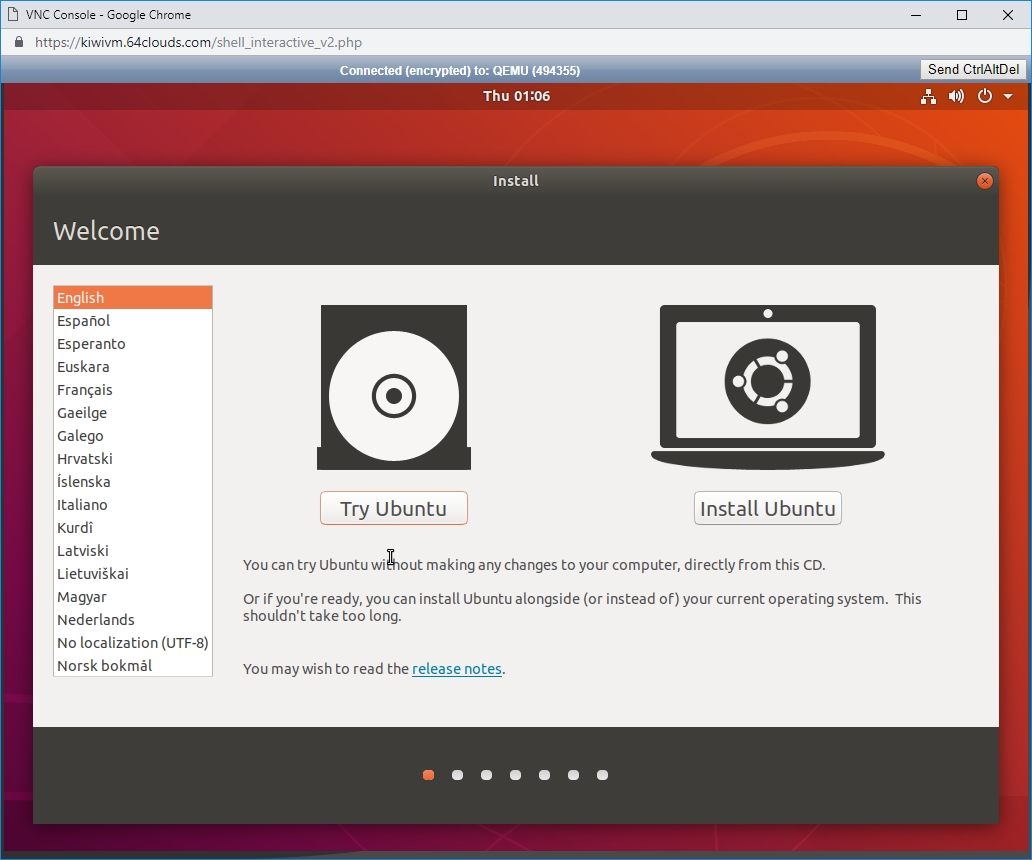
Click ‘Try Ubuntu’
After a few more seconds we will get to the Ubuntu desktop:
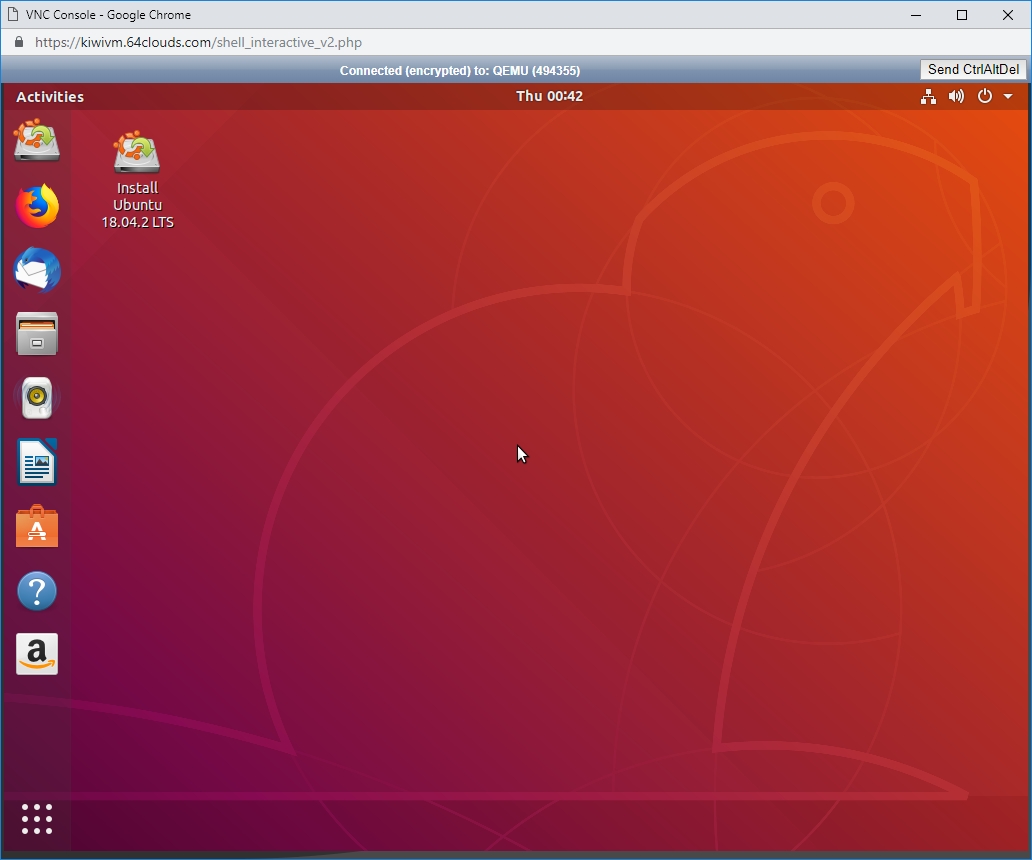
Step 4. Open Terminal
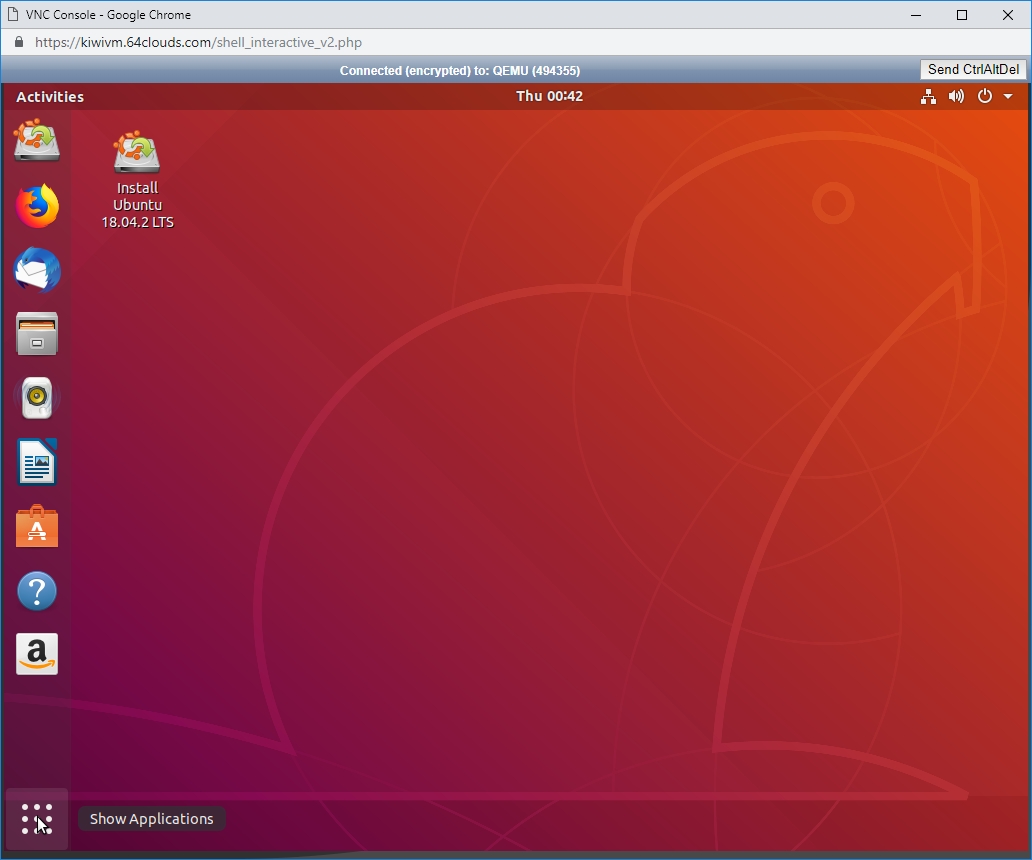
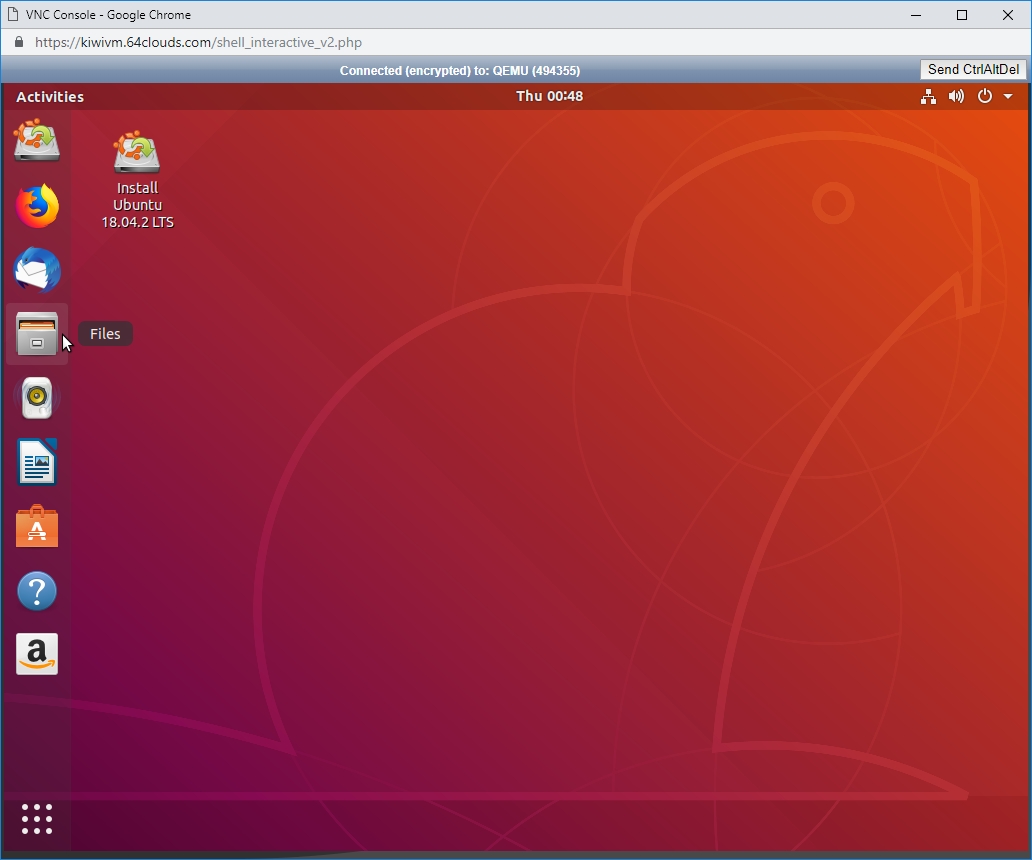
In the bottom left corner, click ‘Show Applications’ button (the one with nine dots):
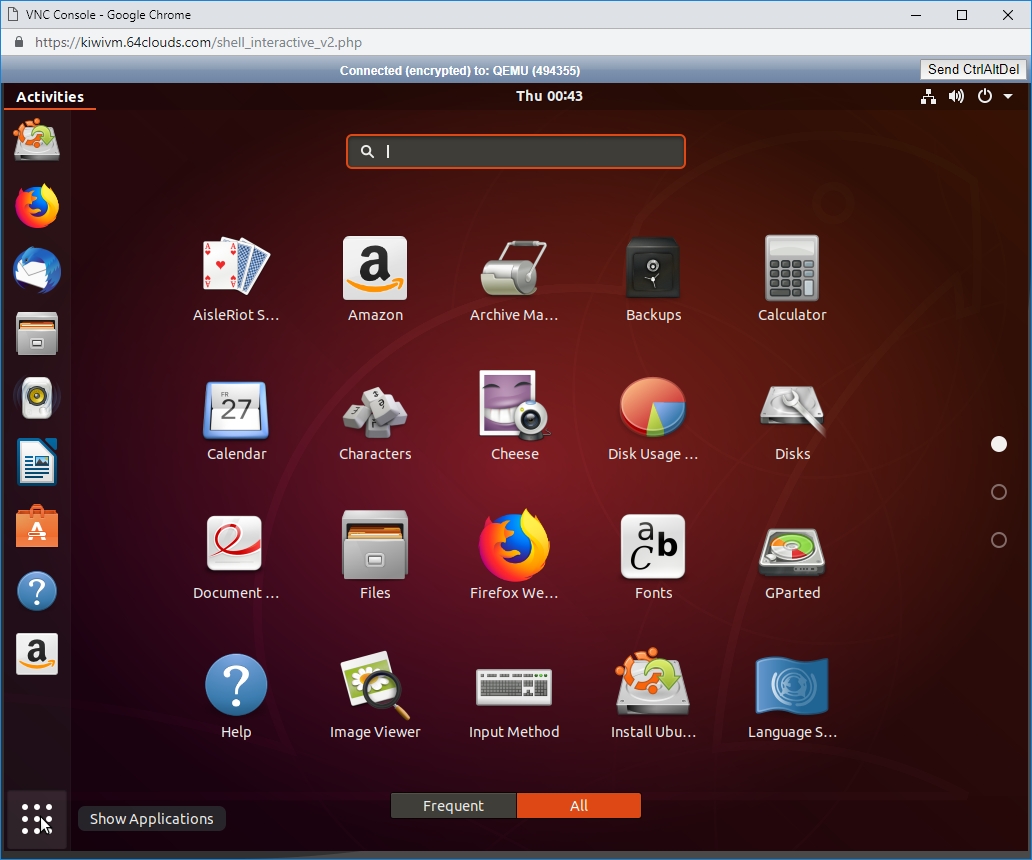
You will see all applications:
Type ‘Terminal’:
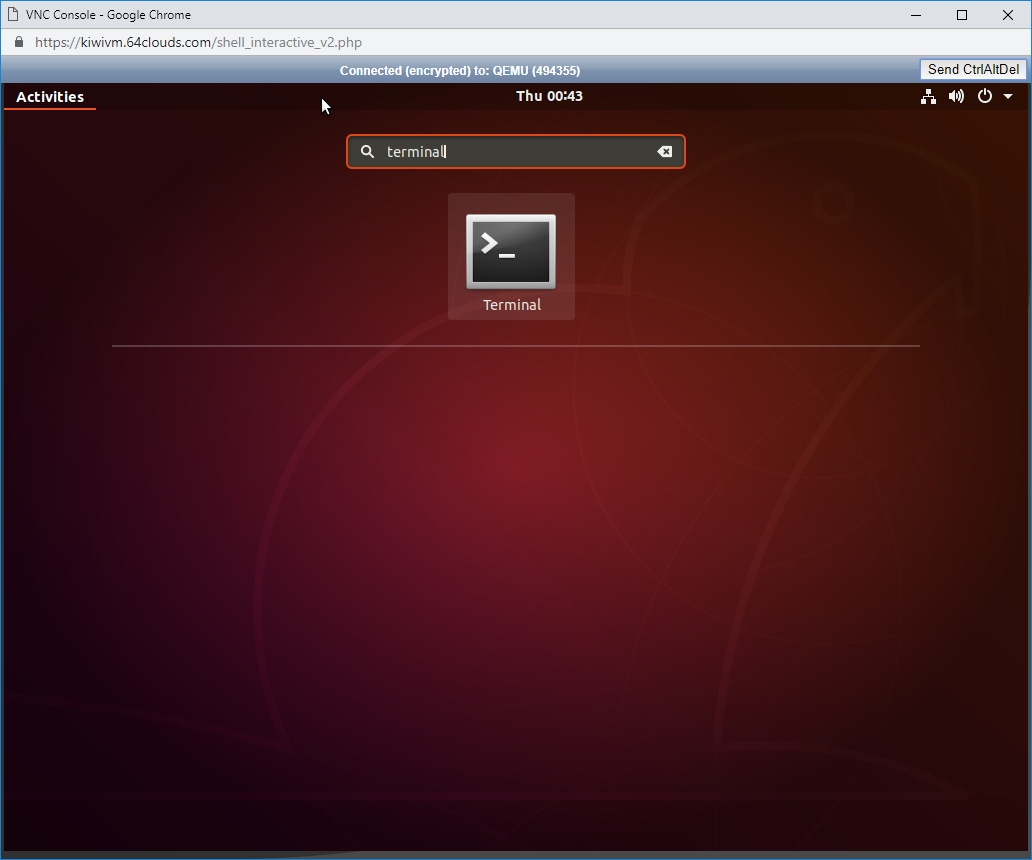
Click ‘Terminal’ icon, and the terminal will open:
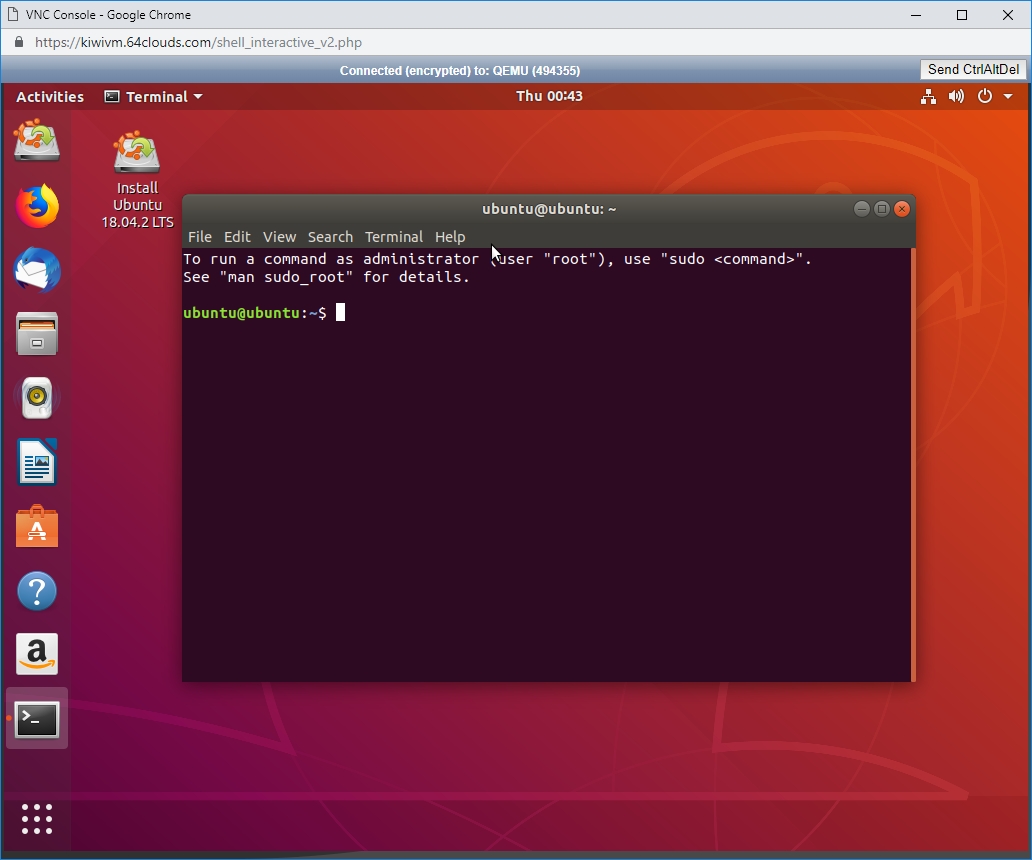
Step 5. Mount VPS partitions
Type the following commands:
sudo mkdir /mnt/boot
sudo mkdir /mnt/data
sudo mount /dev/sda1 /mnt/boot
sudo mount /dev/sda2 /mnt/data

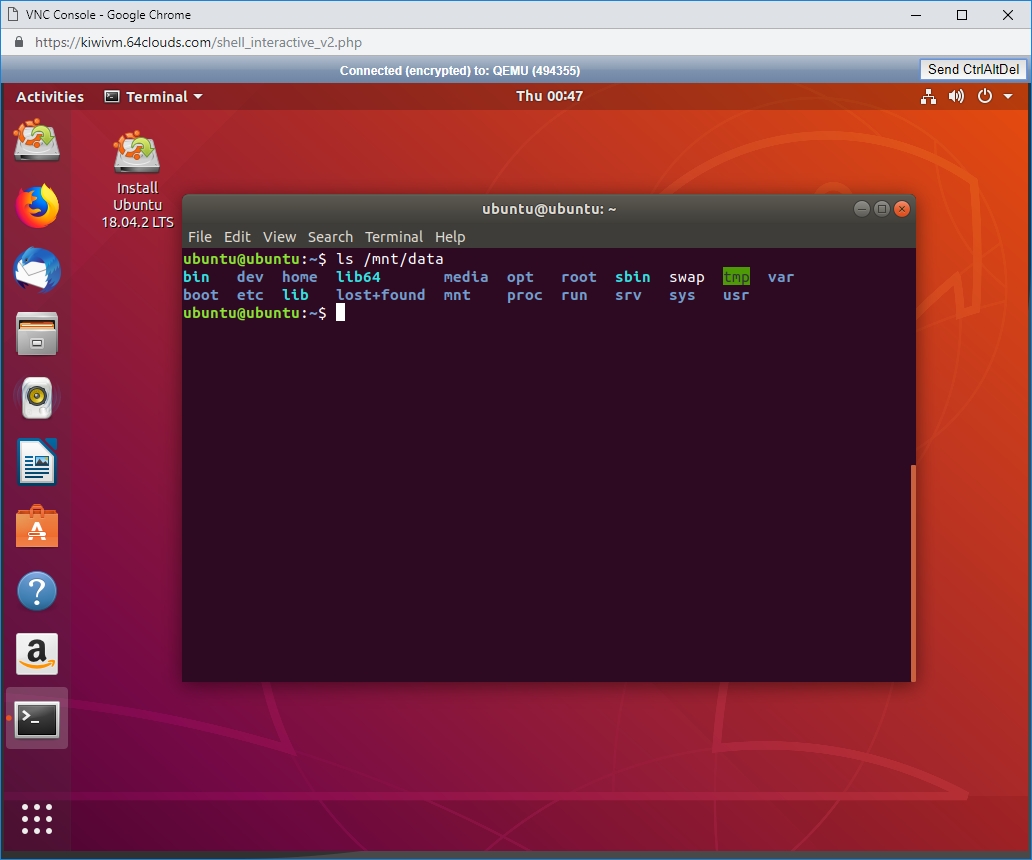
At this point your VPS boot and root partitions are successfully mounted and fully accessible. We can confirm this by listing them:
ls /mnt/boot

ls /mnt/data
Step 6. Copy data or perform recovery tasks
At this point you can perform manual filesystem repair tasks and try rebooting the VPS. If this fails, your next option is to copy all critical data to a temporary remote location. To access your files, either use Terminal as described above, or use graphical Files application:
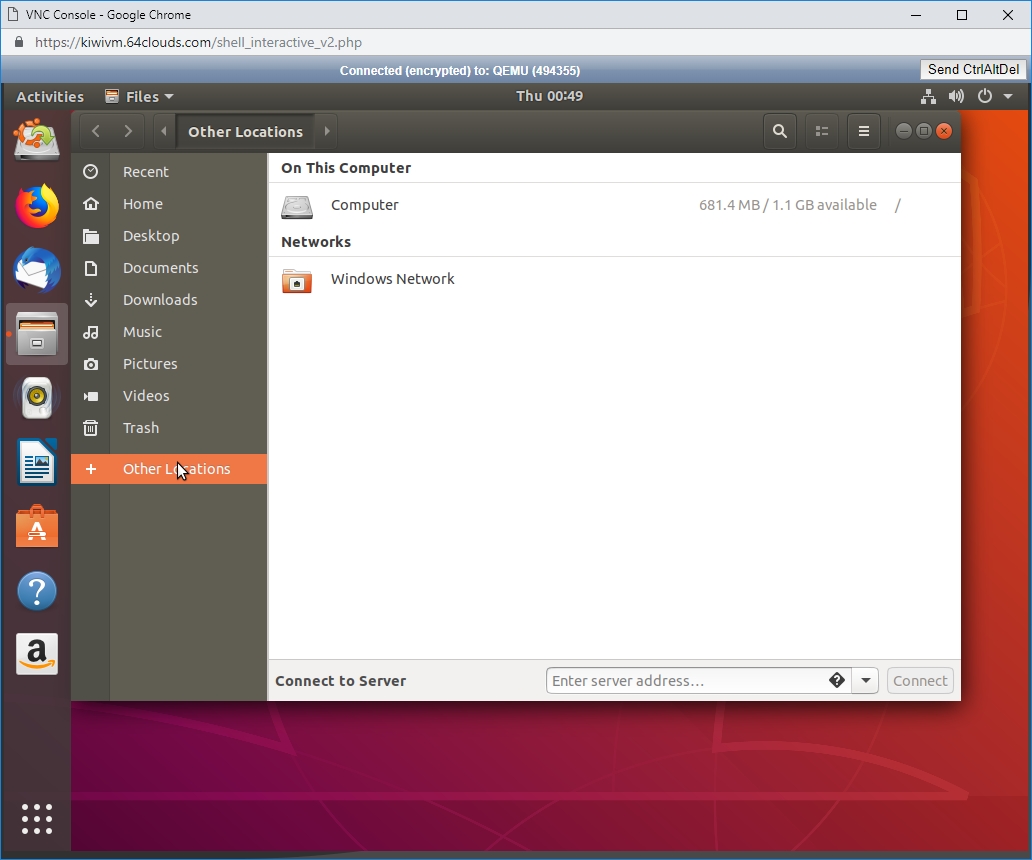
Application main window:
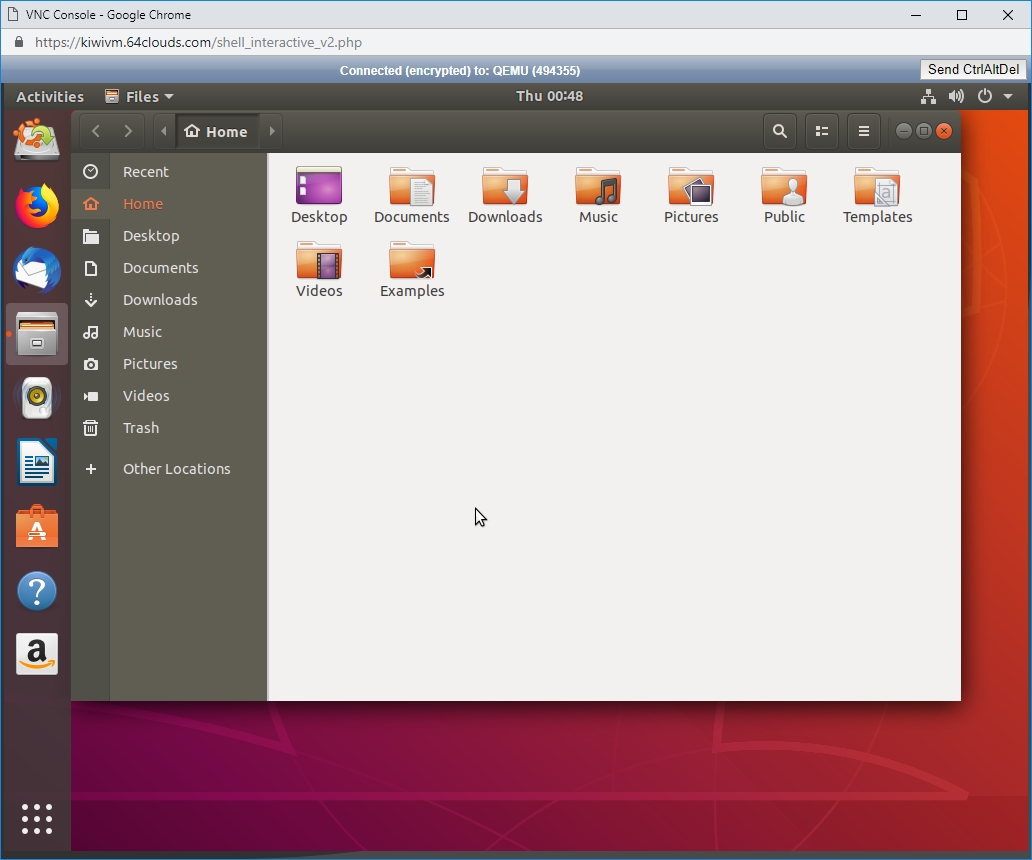
Click ‘Other Locations’:
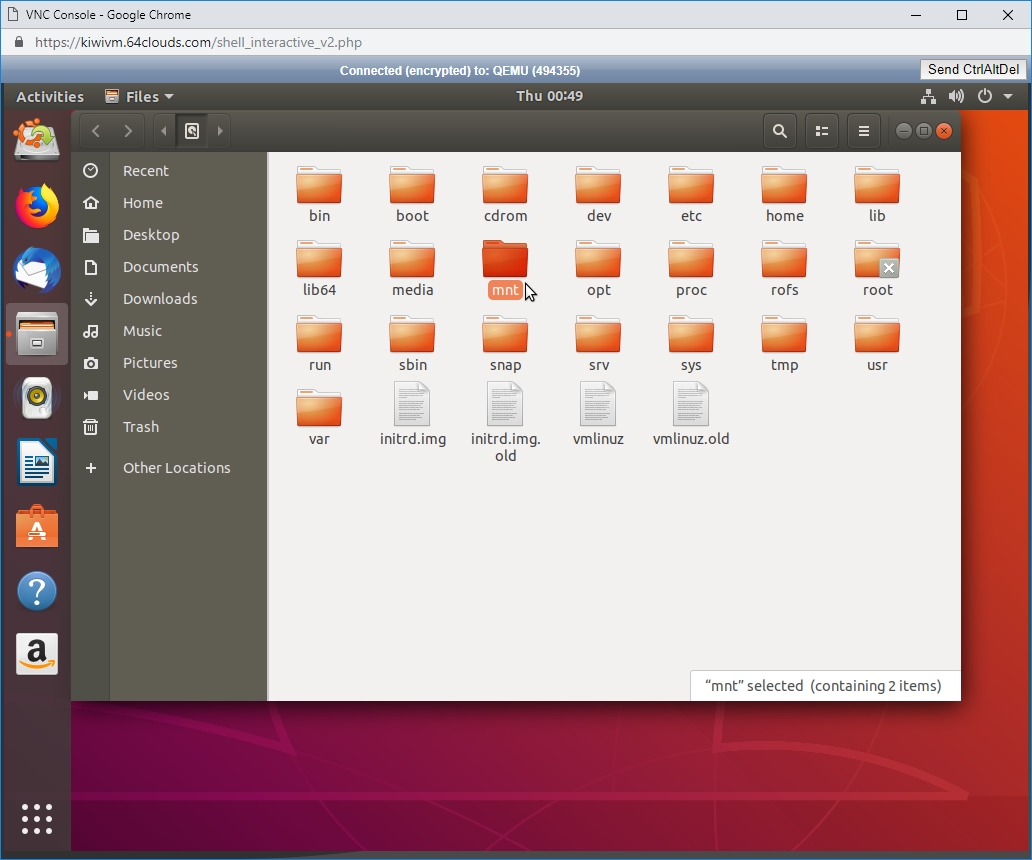
Then click ‘Computer’ and then ‘mnt’:
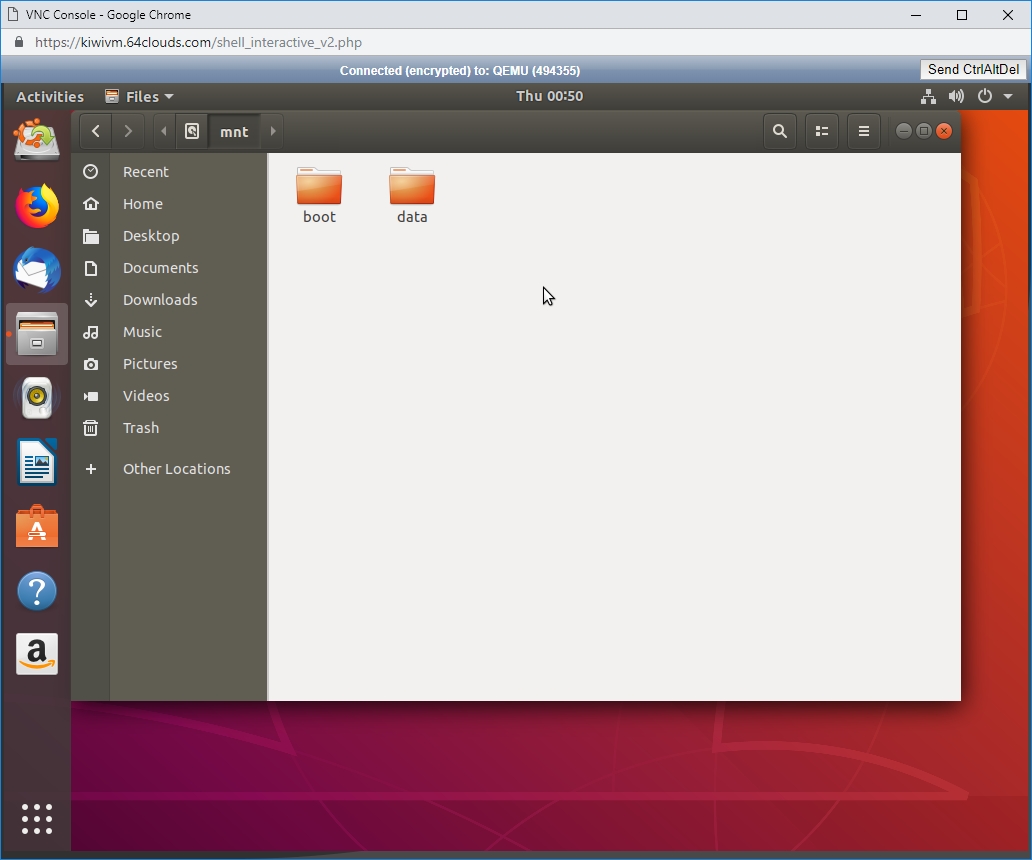
From here, you can access both, boot and data partitions:
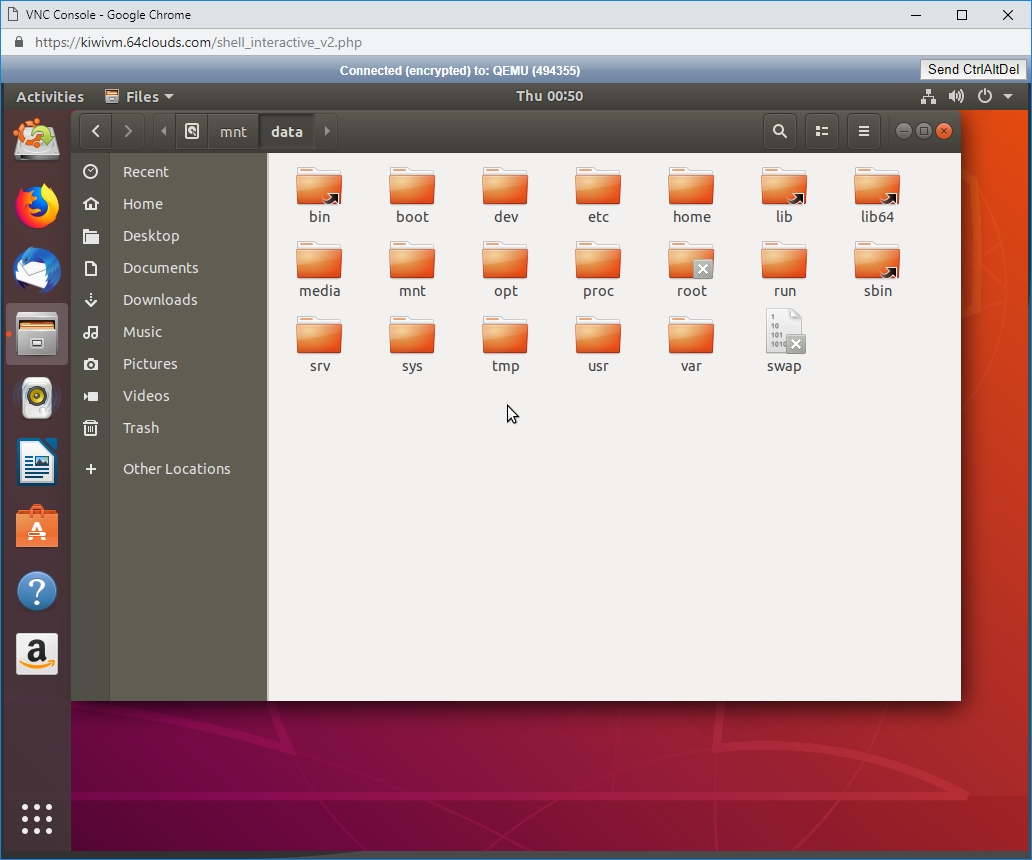
Data partition:
Step 7. Unmount ISO and reboot
When finished, unmount ISO by clicking ‘unmount’ in KiwiVM:
Confirmation screen:

Then, click ‘force stop’

At this point you can start the VPS again and it will boot from its disk as usual.